Vagrant: Day 01
📦 Vagrant - Day 01
1. Introduction to Vagrant
What is Vagrant? Vagrant is an open-source tool that allows you to build and manage virtualized development environments.
Benefits of Using Vagrant
- Reproducibility
- Isolation
- Simplified provisioning
Use Cases
- DevOps automation
- Testing infrastructure
- Multi-VM environments
2. Installation
Linux/Mac/Windows
Step 1: Install VirtualBox
https://www.virtualbox.org/wiki/DownloadsStep 2: Install Vagrant
https://www.vagrantup.com/downloadsVerify Installation:
vagrant --version
Getting Started with Vagrant
Vagrant boxes can be searched Here
- Create a Directory and get into the dir
- Create a Vagrantfile and initiate the box
vagrant init generic/rhel8 --box-version 4.3.12- It will generate a file like given below:
  Vagrant.configure("2") do |config|
  config.vm.box = "generic/rhel8"
  config.vm.box_version = "4.3.12"
end- Create a vm using this vagrantfile (Prerequisites, Virtualbox and vagrant )
vagrant upNow check the vm from Virtual box
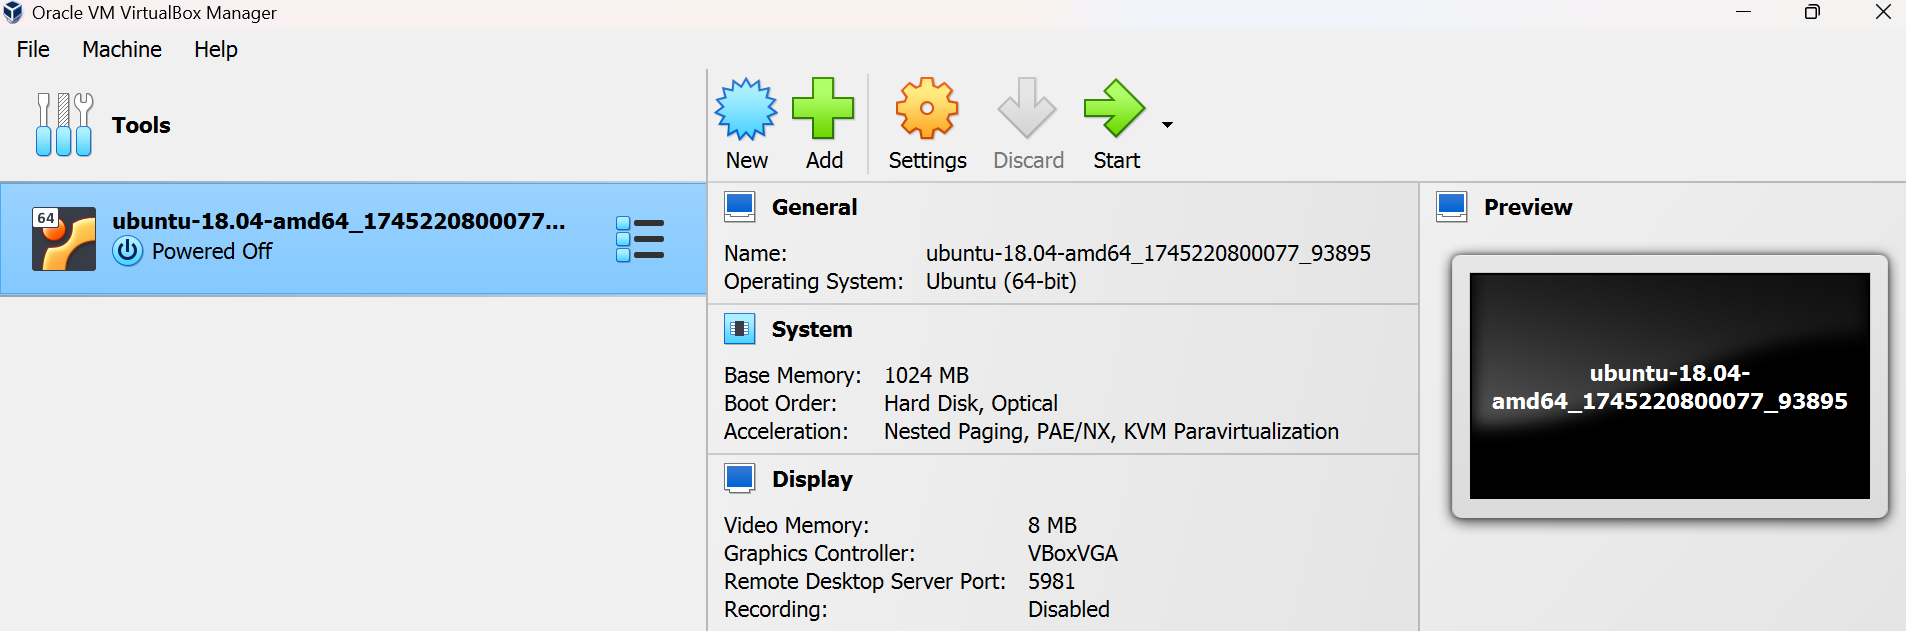
Also check the Network type and forwarding rule
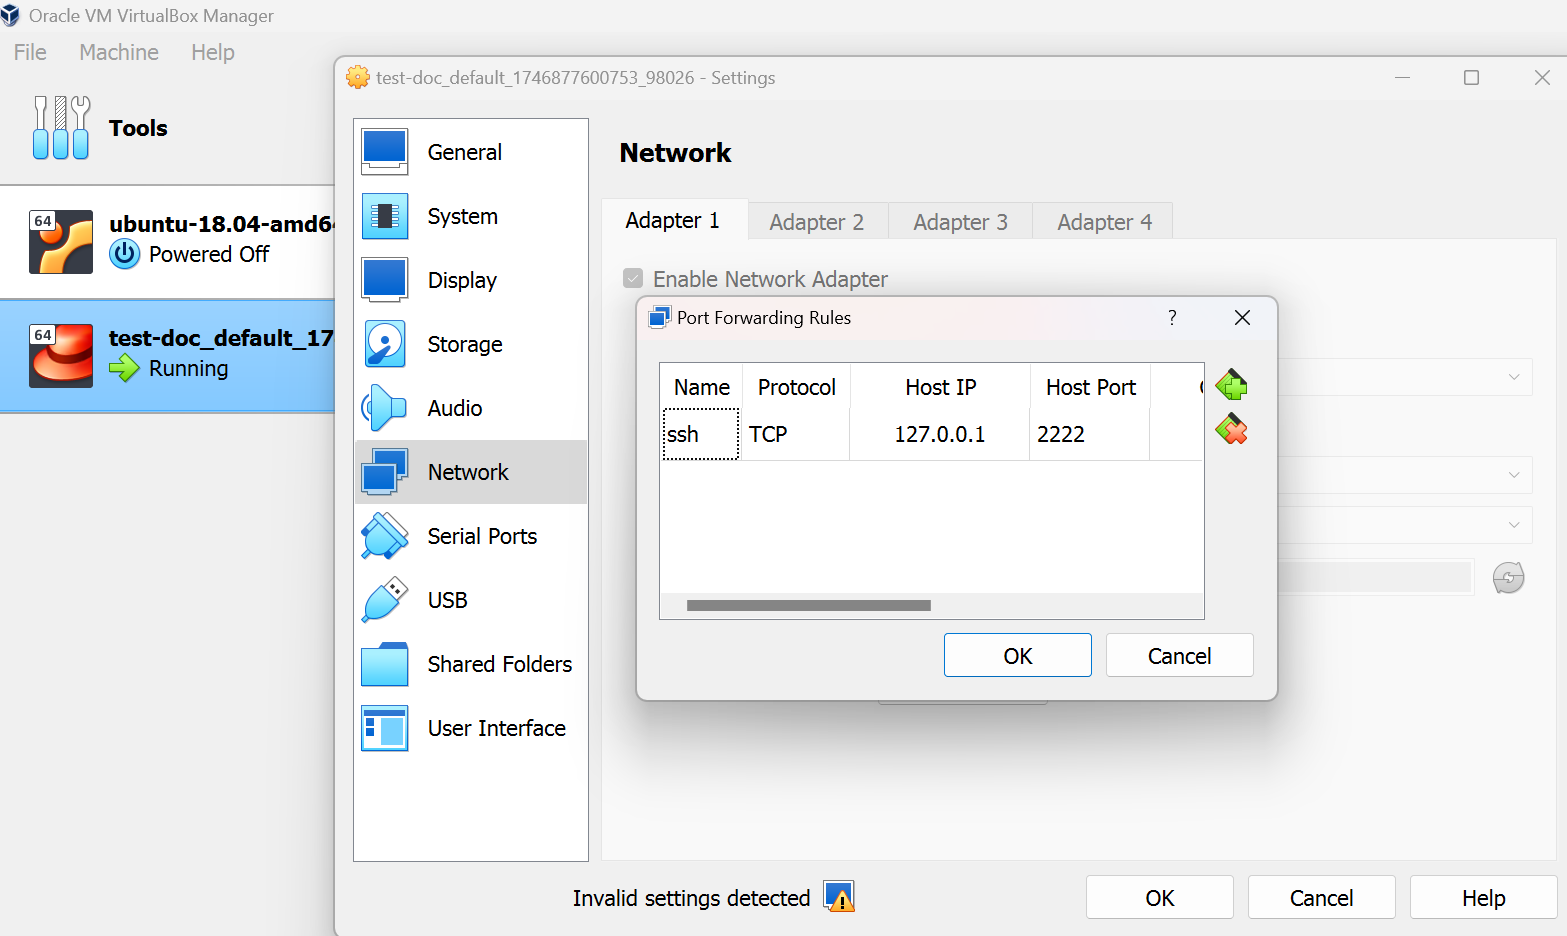
login using putty

Warning: By Default any vm created with vagrant will have a user vagrant and password vagrant
Warning: Password Authentication is not enabled in all other os except ubuntu.
Enable SSH Password Authentication
Vagrant.configure("2") do |config|
  config.vm.box = "generic/rhel8"

  config.vm.provision "shell", inline: <<-SHELL
    # Enable password authentication
    sudo sed -i 's/^#\\?PasswordAuthentication.*/PasswordAuthentication yes/' /etc/ssh/sshd_config
    sudo sed -i 's/^#\\?UsePAM.*/UsePAM yes/' /etc/ssh/sshd_config

    # Restart SSH service
    sudo systemctl restart sshd
  SHELL
end- Run the below command
vagrant up --provisionVagrantfile Basics
Vagrant.configure("2") do |config|
  config.vm.box = "hashicorp/bionic64"
  config.vm.network "private_network", type: "dhcp"
  config.vm.synced_folder "./data", "/vagrant_data"

  config.vm.provider "virtualbox" do |vb|
    vb.memory = "1024"
    vb.cpus = 2
  end
end- Key Options:
config.vm.box: Defines the base box- Networking: private, public, and port forwarding
- Synced folders: sharing between host and guest
Provisioning
Methods:
- Shell Scripts
- Ansible
- Puppet
- Chef
Inline vs External:
- Inline: Defined inside the
Vagrantfile - External: Separate script or playbook
- Inline: Defined inside the
Example (inline shell provision):
config.vm.provision "shell", inline: <<-SHELL
  apt-get update
  apt-get install -y nginx
SHELL
Basic Commands
| Command | Description |
|---|---|
vagrant init | Create a new Vagrantfile |
vagrant up | Start the VM |
vagrant ssh | SSH into the VM |
vagrant halt | Stop the VM |
vagrant destroy | Delete the VM |
vagrant status | Check VM status |
vagrant box list | List installed boxes |
vagrant box add | Add a new box |
vagrant box remove | Remove a box |
Synced Folders
- Default:
/vagrantdirectory synced - Custom Example:
config.vm.synced_folder "./local", "/vm_data"
7. Networking
Port Forwarding
config.vm.network "forwarded_port", guest: 80, host: 8080Private Network
config.vm.network "private_network", ip: "192.168.33.10"Public Network
config.vm.network "public_network"
8. Multi-Machine Environments
Example:
Vagrant.configure("2") do |config|
  config.vm.define "web" do |web|
    web.vm.box = "ubuntu/bionic64"
  end

  config.vm.define "db" do |db|
    db.vm.box = "ubuntu/bionic64"
  end
end
Use cases:
- Web + DB setup
- HA/clustered configurations
9. Troubleshooting
Networking Issues:
- Check IP conflicts
- Restart networking service inside VM
Provisioning Errors:
- Verify scripts and paths
- Use external shell script for debugging
Debug Mode:
vagrant up --debug
10. Best Practices
- Track
Vagrantfilein version control - Use
.gitignoreto exclude.vagrant/ - Use small, optimized base boxes
- Clean up unused boxes:
vagrant box prune
Getting Started Quick Steps
# Step 1: Initialize
vagrant init bento/ubuntu-24.04 --box-version 202407.23.0

# Step 2: Start
vagrant up

# Step 3: SSH
vagrant ssh

# Step 4: Halt
vagrant halt
–reprovision
- Usage:
vagrant up --provision - Explanation: The
--reprovisionoption is used with thevagrant upcommand to force the provisioning of the virtual machine, even if it has already been provisioned previously. This is useful if you want to apply changes to the provisioning scripts (such as updates or new configurations) without destroying and recreating the VM.
Resources
Example if you want to create multiple vms at the same time
 git clone https://gitlab.com/container-and-kubernetes/kubernetes-2024.git
 cd kubernetes-2024/two-vms
 vagrant up